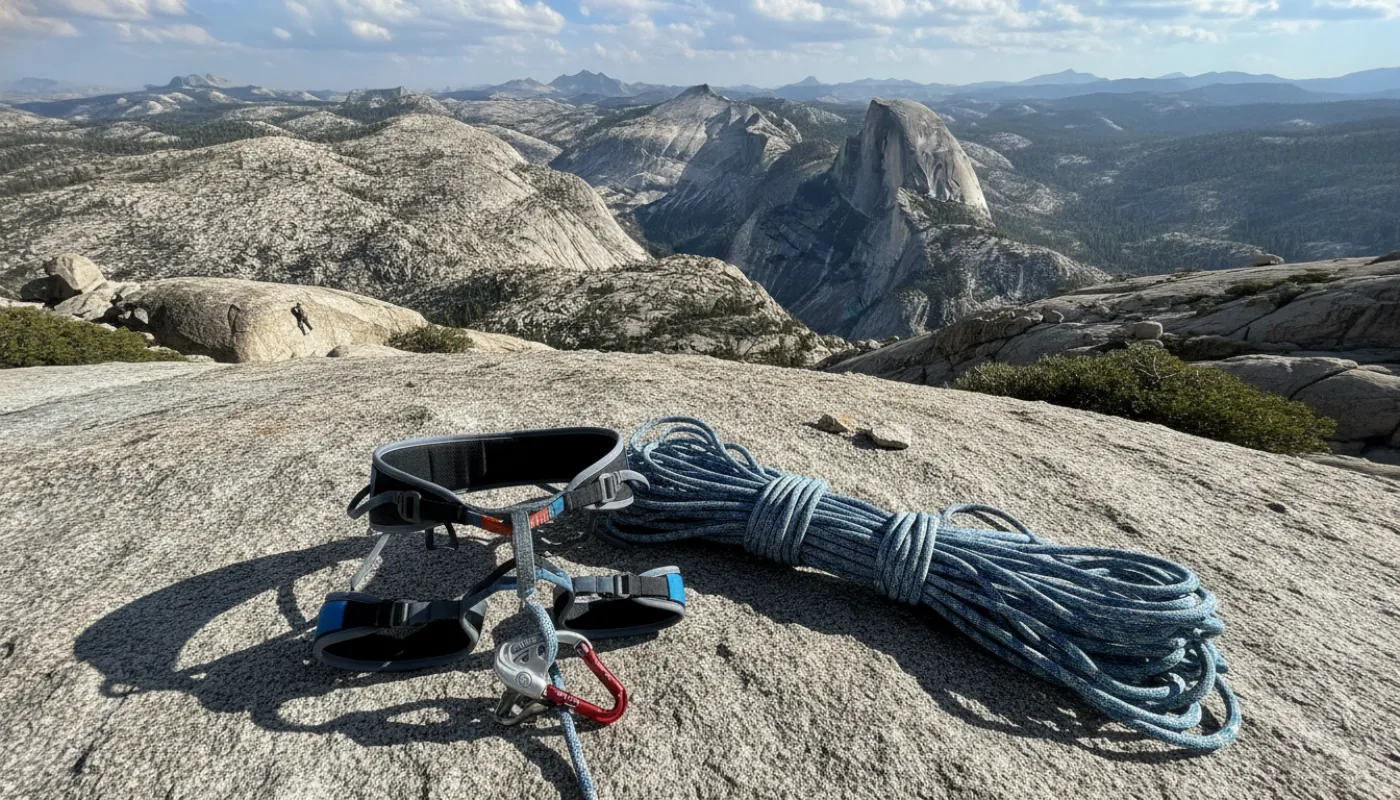
A harness is the simplest thing you'll buy and the one people understand worst. Before fit, before features, before price, learn what the parts are for, because two of them will hold your life and two of them absolutely will not.
The Parts, and Which Ones Are Load-Bearing
Every certified sit harness is built to the same standard, EN 12277 Type C (and UIAA 105). If it doesn't carry a CE or UIAA mark, it isn't a climbing harness.
| Part | What it's for | Load-bearing? |
|---|---|---|
| Two tie-in points (waistbelt + leg loop bridge) | You tie the rope through BOTH of these. Never the belay loop | Yes |
| Belay loop | You belay and rappel off THIS. Never the tie-in points | Yes, rated to at least 15 kN; many are 22 kN |
| Waistbelt / leg loops | Hold you in | Yes |
| Gear loops | Racking gear only | NO, not strength-rated |
| Haul loop | A tag line or light gear only | NO, not strength-rated |
Read those last two rows twice. Gear loops and haul loops are not rated to hold a human being, and climbers have died clipping into them. They are for hanging quickdraws on. Never belay from one, never anchor to one, never clip yourself in with one, not even "just for a second."
And get the two load-bearing paths straight, because reversing them is the classic beginner error:
- Rope → through the two tie-in points. Not the belay loop.
- Belay device and rappel → on the belay loop. Not the tie-in points.
The belay loop is designed to rotate freely, and that's a feature, not wear.
Fit: The Part That Actually Matters
The waistbelt goes ABOVE your hip bones, roughly at navel level. Not on your hips. Not below your navel.
This is a safety requirement, not a comfort preference. The reason is simple and grim: in an inverted fall, a harness worn low over the hips can be pulled straight off you.
The test: with the harness on and done up, grab the waistbelt and try to pull it down over your hips. You should not be able to. If it slides down, it's too loose or too big, or you're wearing it in the wrong place.
The two-finger rule is a maximum, not a target. You should be able to fit no more than two fingers between the waistbelt and your body. If you can fit a fist, it's wrong.
Buckles: most modern harnesses use auto-locking (self-doubleback) buckles. If yours is an older manual buckle, you must double it back through, and check it on every partner check.
Leg loops: contrary to what you'll read, adjustable leg loops are common and are a real buying decision. Fixed or elastic legs are lighter and typical on sport and gym harnesses; adjustable legs let you fit over layers and are standard on trad, alpine and ice harnesses.
Hang in it before you buy. Not from a pull-up bar, that doesn't load the harness at all. Find a shop with a hang test, or hang on a top-rope, and sit in it for a few minutes. Pressure points that are mildly annoying in the shop are unbearable on a multi-pitch belay.
Which Type?
| Type | Built for | Features |
|---|---|---|
| Gym / rental | Indoors | Simple, adjustable, durable, heavy |
| Sport | Bolted routes | Minimal padding, few gear loops, often fixed leg loops, light |
| Trad | Gear routes | More and larger gear loops, more padding for hanging belays, often adjustable legs |
| Alpine / ice | Mountains | Adjustable leg loops to fit over layers, ice-clipper slots, sometimes a drop seat |
| Big wall | Living in it | Heavily padded, lots of loops |
| Kids' full-body (EN 12277 Type B) | Children | A child's hips can't retain a sit harness, full-body is the correct choice, and this is a genuine safety issue |
For a first harness, an all-round model with adjustable legs and four gear loops covers everything from the gym to a trad crag. Buy specialised later, when you know what you actually do.
When to Retire It
Two rules, and the first one surprises people.
Ten years maximum from the DATE OF MANUFACTURE, not from first use. This is the textile-PPE convention across the industry. A harness that sat in a warehouse for three years is done at year seven of your use, not year ten. Find the manufacture date on the label.
And far sooner with use. Regular climbing wears a harness out well inside a decade.
Retire it immediately, not "consider retiring it", if:
- It has held a major fall or any significant impact
- You find cuts, fraying, burns, or fuzzy tie-in points
- It has been in contact with chemicals (battery acid is the classic killer, invisible and catastrophic)
- The tie-in points show wear, these are the highest-wear part of the harness and the whole reason many harnesses have a coloured warning thread woven in: if you can see the thread, it's finished
- You simply don't trust it
A harness is $60. Your femur is not.
Care
Wash it in cool water with mild soap if it's filthy. Air dry it out of the sun. Store it somewhere dark, dry and cool, away from UV, heat, and anything corrosive.
And inspect it before every climb. Run the webbing through your hands: belt, legs, both tie-in points, the belay loop. It takes twenty seconds and it's the cheapest habit in climbing.
The Short Version
Buy a harness that fits above your hip bones and won't pull down over them. Tie the rope through both tie-in points. Belay off the belay loop. Hang nothing that matters on the gear loops. Check the manufacture date. Retire it without arguing with yourself.
Everything else (padding, colour, how many loops), is preference.