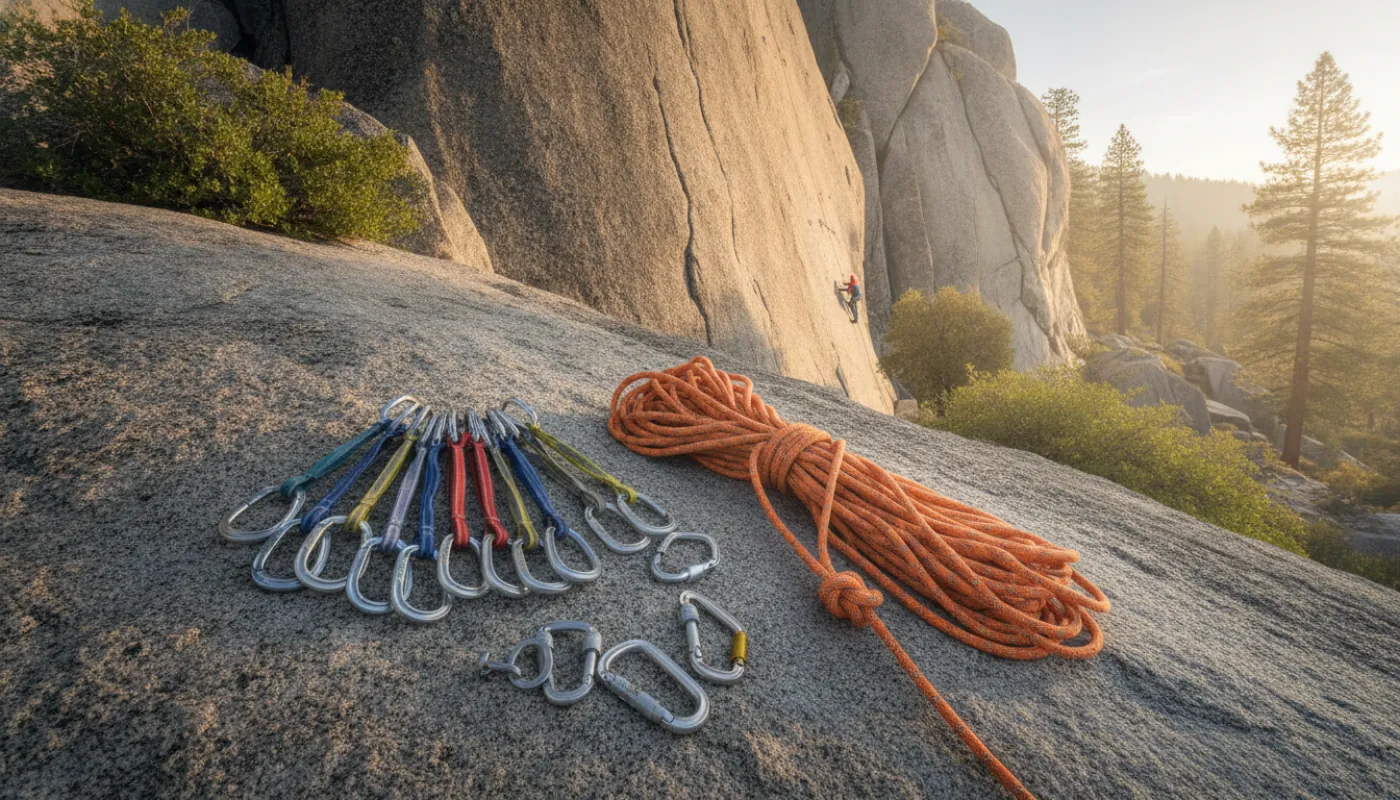
This is the kit for your first outdoor sport lead, bolted routes, single pitch. It is not a trad rack, and buying cams before you've been taught to place them is buying an expensive way to get hurt.
Everything below is chosen so you can build one coherent, safe system rather than a pile of gear.
The Kit
| Item | What to get | 2026 cost |
|---|---|---|
| Rope | 60 m or 70 m single, 9.5–10.2 mm | $150–300 |
| Quickdraws | 12 (not six) | $18–32 each |
| Harness | Any current CE/UIAA sit harness that fits | $50–100 |
| Belay device | Assisted-braking (GriGri) or a tube (ATC) | GriGri $105; ATC $20–30 |
| Locking carabiners | 3–4 minimum (belay + anchor) | $15–25 each |
| Helmet | Non-negotiable | $40–90 |
| Personal tether / PAS | For going in direct at the anchor | $25–40 |
| Slings | 60 cm and 120 cm sewn | $10–20 each |
| Stick clip | Yes, really | $50–90 (or build one) |
| Shoes, chalk, chalk bag | $100–180 + $20–40 |
Realistically, $600–1,100 for a complete first setup. Split a rope with a partner and it comes down fast.
Read the Markings: This Is the Part Nobody Teaches
Every piece of life-safety gear is stamped with its strength in kilonewtons (kN). One kN is roughly 225 lbs of force. Learn to look:
| Gear | Minimum strength (UIAA/CE) |
|---|---|
| Carabiner, major axis (spine-loaded, gate shut) | ≥20 kN |
| Carabiner, minor axis (cross-loaded) | ≥7 kN |
| Carabiner, gate open | ≥7 kN |
| Slings and quickdraws | 22 kN |
The lesson in that table is the one that matters: a carabiner loses roughly two-thirds of its strength if it's cross-loaded or its gate is open. That's why carabiner orientation is a safety issue and not fussiness, and why you check that your belay biner hasn't rotated across your belay loop.
Look for the CE mark and/or the UIAA mark on anything holding your life. If it isn't marked, it isn't climbing gear.
Rope
Diameter: a first outdoor rope should be 9.5–10.2 mm. Thinner ropes (9.0–9.4) are for experienced belayers, they run fast through a device and are less forgiving.
Length: 60 m covers most crags; 70 m is mandatory at some, and being 5 m short is exactly how climbers get lowered off the end. Check the guidebook for the routes you're going to.
Dry treatment is genuinely useful for ice, alpine and multi-pitch, and it adds $60–100. For single-pitch sport cragging it's optional. Don't let anyone tell you it's mandatory.
Retirement, and this is a real safety point. The "ten years" you'll see quoted is the maximum shelf life of an unused rope, stored properly. Under actual use it collapses:
- Weekly use: about a year.
- Near-daily use: under a year.
- A few times a month: around three years.
- Any rope, immediately, after a severe fall, a core shot, sheath damage, chemical contact, or if you simply don't trust it.
A rope that "looks fine" after four seasons of hard cragging is not fine.
Quickdraws
Buy twelve. Not six. A single-pitch sport route can eat ten or more draws before the anchor, and running out halfway up is a genuinely bad situation. Twelve draws plus two lockers for the anchor is the standard starter rack.
A quickdraw is two carabiners on a sewn dogbone. The rope-end biner (usually the bent-gate) and the bolt-end biner are not interchangeable: keep them oriented consistently, and clip so that the gate faces away from your direction of travel, so the rope can't unclip itself as you move past.
Learn back-clipping and Z-clipping by name, from someone who can show you, before your first lead.
Belay Device
An assisted-braking device (the Petzl GriGri is the standard) locks up under load and is what most sport climbers use. A tube device (the Black Diamond ATC) is simpler, lighter, and handles rappels and half-ropes better.
Neither is "auto-locking," and this matters. An assisted-braking device is not hands-free. Your brake hand never leaves the brake strand. People have been dropped by belayers who believed the device would take care of it.
Your Tether, And the Mistake That Kills
You need something to clip yourself directly to the anchor while you clean it: a PAS, a sling, or a purpose-built tether.
Never take a fall onto a Dyneema sling or tether. Dyneema has almost no stretch, around 3–5%, so it cannot absorb a shock load. Even a short fall onto a static tether, from just above your anchor point, can generate forces high enough to break the sling and has killed people. Stay below your anchor point, keep the tether taut, and never climb above it.
Nylon is more forgiving than Dyneema, but the rule is the same: a tether is for hanging on, not for falling on.
Helmet
Wear one. Rockfall is the obvious reason, but the underrated one is that in an awkward fall, a rope behind your leg flips you upside down, and head impacts to the front, back and sides are about as common as impacts to the top.
Wear it belaying, too. That's where the rock lands.
Replace after any significant impact, and roughly every 5–10 years regardless.
The Stick Clip
The most-skipped genuinely-important item on this list.
A stick clip pre-clips the first bolt from the ground, which removes the ground-fall zone from the part of the route where a fall actually hurts you. It is standard practice, not a beginner's crutch. Buy one, or make one from a painter's pole for $15.
Chalk
Chalk (magnesium carbonate) dries the sweat on your hands so your skin grips rock better. That's all it does. It has nothing to do with rope friction, whatever you may have read.
The Habits That Come With the Gear
Owning this kit doesn't make you safe. Three habits do:
Close the system. Knot the free end of the rope, every time. More than half of recorded lowering accidents happened because the rope end ran through the belay device.
Inspect everything, every time. Slings and ropes are nylon and Dyneema: they degrade with UV, abrasion and chemicals. Fuzzy, faded, stiff, or contaminated slings get retired, they're $15. Check your harness for cuts and worn tie-in points. Look at your carabiner gates.
Retire without sentiment. The gear that ends your career is the gear you kept because it "looked OK."
What This List Deliberately Excludes
Cams and nuts. A trad rack is a different article and a different skillset, one you learn in person from an experienced climber or a guide, not from a shopping list. Get solid on bolted routes and your rope systems first.
Anything that looks like a bargain. The cheapest option in a climbing shop is fine; the cheapest option on a marketplace, with no markings and no history, is not gear. Buy life-safety equipment new, or from someone you trust with a history you know.